
Your cart
Order special instructions
Order special instructions
Three simple steps. No trade skills. No mess. Most people are done in under an hour.
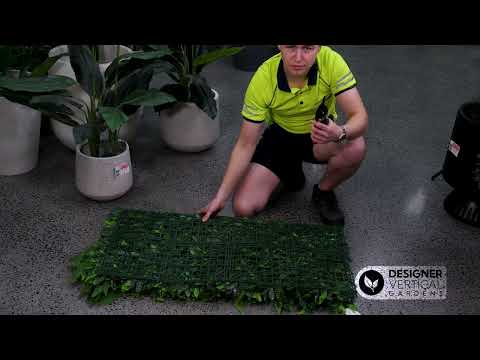
Start at the top corner. Fix your first panel using cable ties, screws, or staples.
Work across and downward. Each panel clips to the next — it locks together neatly.
Snip any overhanging edges with scissors. Step back and admire your new green wall.
Make sure your surface is clean, solid, and ready to go — then pick the method below that matches your wall or fence. That's all the prep you need.
The easiest option. Simply thread cable ties through the panel grid and around your fence rails. Done in minutes.
🔗 Cable TiesScrew a few horizontal timber strips to the wall, then attach your panels directly to the strips. Solid and secure.
🔩 Timber Strips + ScrewsScrew directly in. No prep required — just line up your panel and drive the screws through the grid frame.
🪛 Direct ScrewsBuild a simple timber or metal frame and attach panels to it. Perfect for renters, courtyards, or anywhere you can't fix to a wall.
🏗️ Custom FrameA little more detail if you want it — though honestly, most people just wing it from the three steps above.
Make sure your surface is solid, reasonably smooth, and clean. That's it. No need to do anything fancy — if it can hold a picture frame, it can hold your panels.
Start at the top-left corner of your wall. Hold the panel in position and secure it at the corners using your chosen fixing method. Work across first, then move down row by row.
Continue along the row, then start the next row below. Each panel butts up against the last — the foliage naturally covers the join so no gaps show through.
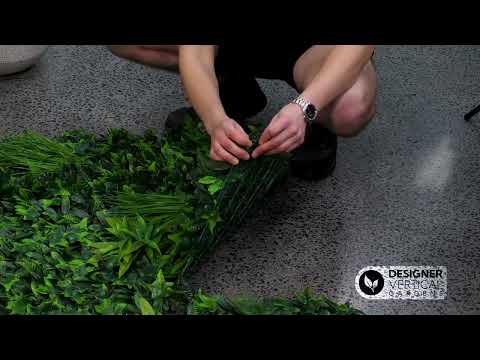
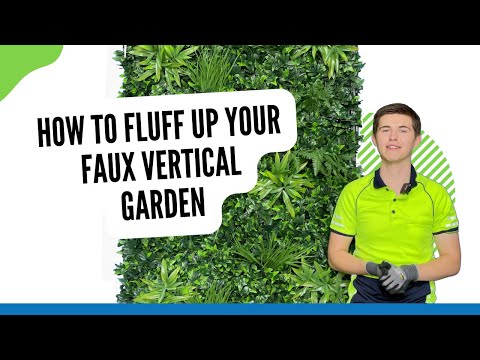
Once all panels are up, use a pair of scissors to trim any panels that extend beyond your wall edge. Give the foliage a quick fluff with your hands — and that's genuinely it.
See exactly how simple installation is — real installs, real results.

How to measure your wall or fence
Trim panels to fit any space cleanly
Seamless panel connections, every time
Get that full, lush, natural look

Perfect for renters or moveable screens
A few small things that make a real difference.
In exposed or coastal locations, simply add a few extra cable ties along the panel edges. Heavy-duty UV-rated ties are available at any hardware store.
Use sharp fabric or garden scissors. Cut from the backing side for the cleanest line. The foliage covers any cut edge naturally — no tidy-up needed.
Just spray with a hose or wipe with a damp cloth once in a while. No products, no effort — your panels look great year round without any maintenance.
Shop Plant Cleaner →Our panels are already UV-engineered to last outdoors — but if you want to go the extra mile, applying a UV protection spray annually (like a paint protector) can extend the panel life further. Helpful, not required.
Shop UV Protection Spray →Straight answers to what people usually ask before they start.


