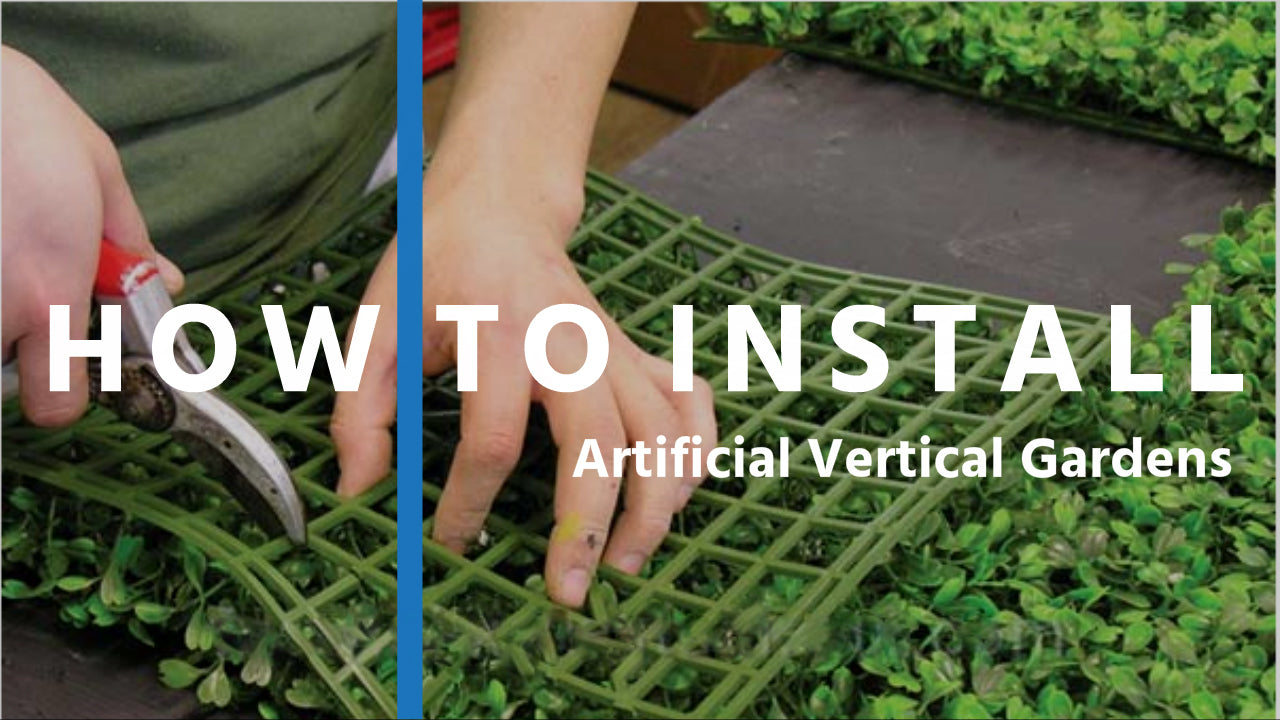
How To Install Your Green Wall / Hedge Panels

GETTING STARTED
Our designer artificial green walls add an incredible burst of colour and style to any dreary wall, fence or area. No ‘tacky’ or ‘fake’ looking plants here – we’ve created the very best life-like panels for a very real look.
Yet, you may well be wondering how easy they are to install, before going ahead and purchasing. We thoroughly recommend utilising this guide before you purchase, to ensure you order the right quantities of your chosen panels.
Luckily, our Artificial Green Walls are the perfect DIY project to install, and complete.
No special tools or fixings are required - you'll only need a few items that you’ll most likely already have at home or can easily be obtained from your local hardware store.
The method of attaching our artificial green wall plant panels will differ slightly depending on the type of wall you’re attaching them too. We’ve provided all the different methods below.
But before we delve in, there is one important step to get right, before you get started on installation.
Make sure you order the CORRECT number of artificial green wall or hedge panels

This might seem obvious, but careful planning and measurements here are crucial so you don’t end up with too many panels, or too little, to complete the job successfully. After all, nothing is more frustrating than a half-done job (or spending more money than you needed to)!
To calculate how many panels you need, all you need to do is calculate your square meterage – length x width (for example the length of your fence x it’s height).
For example, a 2m x 3m wall is 2 x 3 = 6m2, therefore you need 6m2 worth of panels.
Most of our panels are 1m x 1m so it’s pretty easy to calculate, however, some panels are 90cm x 90cm, which for easy reference is 0.81 of a m2.
The exception to this rule, is if you are doing areas that require part metres.
If you have offcuts of less than 20cm we wouldn't often recommend re-using this if you are after a perfect finish. However, if you have an area of 4m x 50cm you can easily split a 1 metre panel in half, i.e. 4m x .5m = 2m2 = 2 panels.
If however all of those calculations are making your brain want to explode, or if you simply have some trickier sized areas to cover, feel free to get in touch with our expert team for guidance.
INSTALLATION FOR EACH TYPE OF WALL (OR FENCE)


Timber (paling fence, plywood, timber cladding and plaster)
Vertical Garden and Hedge Panels
Our preferred method, and the easiest way to install our vertical garden and hedge panels onto timber, is to simply staple the panels directly into place.
Our preferred method, and the easiest way to install our vertical garden and hedge panels onto timber, is to simply staple the panels directly into place.
You will need: 1 Staple Gun + Staples
Step 1: Hold the panel up (make sure it is straight) and move the foliage back to expose the backing mesh.
Step 2: Staple either side of the plastic mesh up the top, on one end.
Step 3: Staple either side of the plastic mesh up the top, on the other end.
Step 4: Continue placing more staples across the panel. We recommend 4 staples across the top and 4 staples every 25cm in a similar way – to make a minimum of 16 staples per 1m x 1m panel.
HANDY HINT: For high wind areas – we strongly recommend using even more staples, to ensure it remains in place.

Timber (paling fence, plywood, timber cladding and plaster)
Our Bespoke Vertical Gardens are a little bit different but are still incredibly easy to install.
You will need: Timber screws and washers.
Step 1: Use a timber screw (approx 2-5cm long) and screw in each corner with a washer (to stop the panel slipping off).
HANDY HINT: If attaching into plaster or light-weight walls you will need to find the studs first.
Here is a handy guide to finding studs.

Concrete Wall / Brick / Stone
Vertical Garden, Hedge Panels and Bespoke Panels
While attaching our artificial plant panels onto brick or concrete may appear to be hard, it is actually very straight forward.
You will need: Drill, 5mm masonry drill bit, 5mm nylon plugs, washers.
Step 1: Mark out the area using chalk or a pencil (outlining the 1m x 1m panel), and pre-drill 12 (spaced every 25cm or so) holes using a 5mm masonry drill bit.
Step 2: Proceed to hold the panel up and insert a 5mm Nylon Plug with a washer, making sure to grab the plastic backing (or the metal backing for the bespoke panels).
Step 3: Hammer the nylon plug all the way in, and proceed to hammer the 12 nylon plugs in.

Metal / Colourbond Fence
Vertical Garden, Hedge Panels and Bespoke Panels
Attaching your panels to a Colourbond fence tends to be a little bit more time consuming. But don’t worry, it’s still quite easy and straight-forward.
Step 1: Attach timber palings onto the metal fence (often you can screw into the capping at the top & the bottom guide rail), spacing them 50cm apart.
Step 2: Proceed to follow the same instructions for installing on to timber – as relevant to the type of panel you’re installing.
Step 3: Alternatively, you can attach plywood or palings onto a wall using high strength glue and then proceed to staple / screw the panels directly onto the timber.

Wire Fences or Tubular Structures
Vertical Garden, Hedge Panels and Bespoke Panels
Attaching your vertical garden, hedge panels or bespoke panels to wire fences is the easiest process of all. And it’s a great way of hiding that ugly fence or for providing more privacy.
You will need: Cable ties.
Step 1: Hold the panel against the wire fence in the position that you require. Adjust to where it looks best, and/or hides the fence for a seamless look.
Step 2: Once happy with its position, simply loop a cable tie through both the panel backing grid, and the fence wire – and pull tight.
Step 3: Secure the remainder of the panel at regular intervals with more cable ties to ensure it remains perfectly in place and won’t flap around. We recommend a minimum of around 18 cable ties for each panel.
Step 4: Making sure each cable tie is as tight as possible, snip of any excess for a neat finish at the back.
Alternatively, if you prefer, you can also use small pieces of wire, to twist around and secure.
No matter what type of wall, fence or area you’d like to cover or enhance, chances are, there’s a way to attach our beautiful looking designer garden panels with ease. If you’ve got an odd-shaped area or a tricky surface, or simply need some extra assistance, feel free to get in touch with our friendly, expert team for advice.
